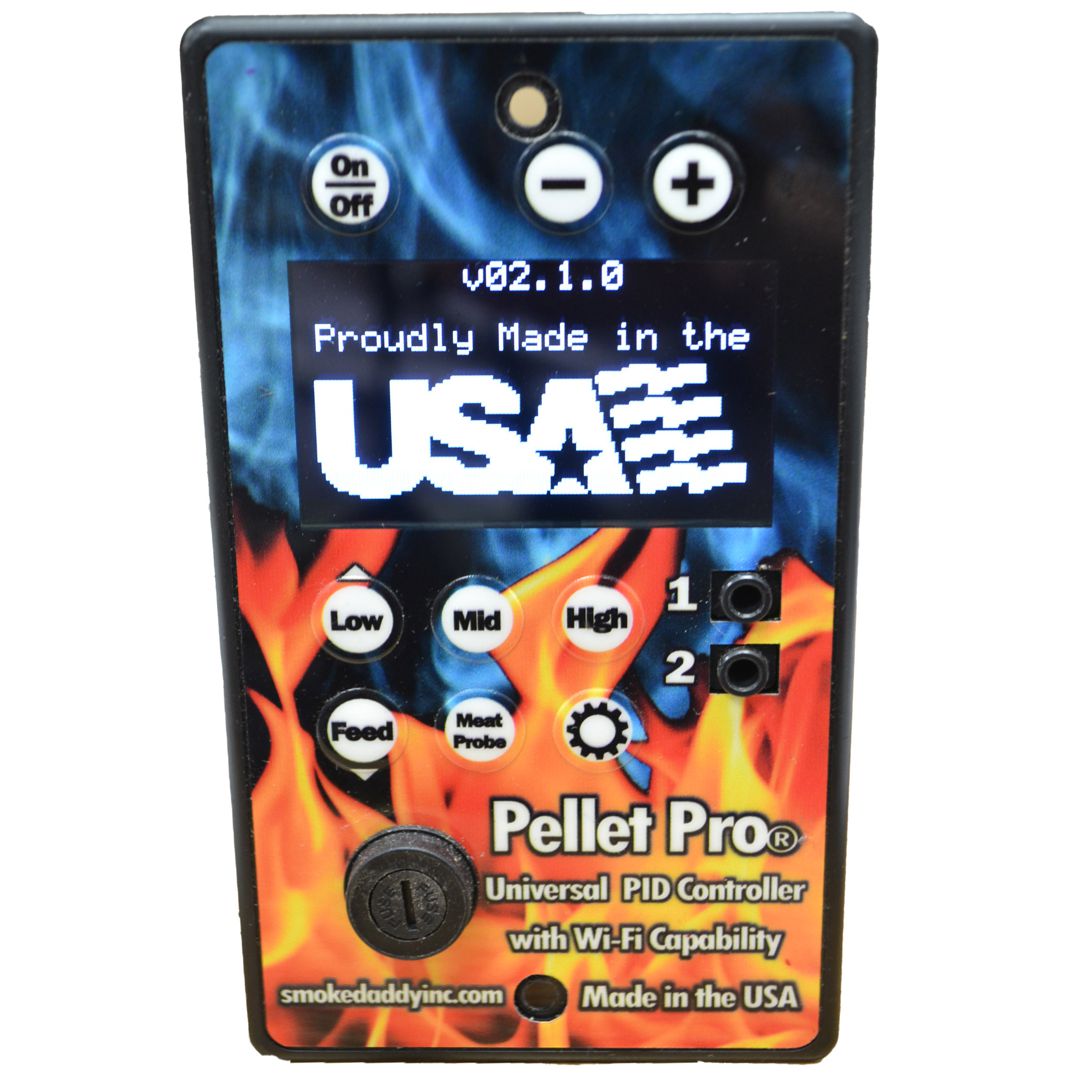
PIC Wifi Controller installation

the screen on the controller died so it was time to upgrade to a
PID controller with WIFI
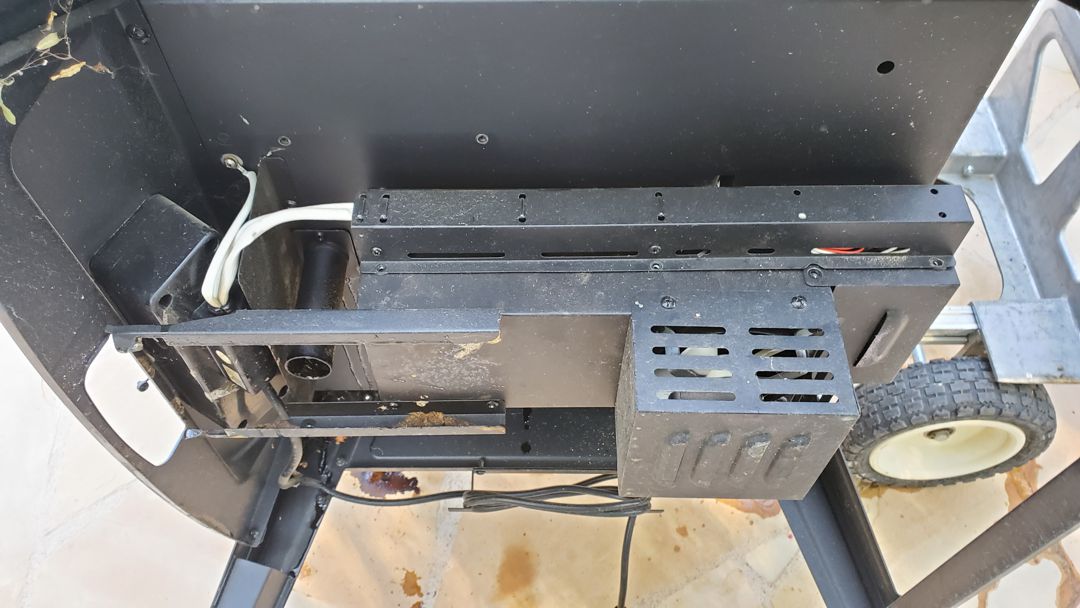
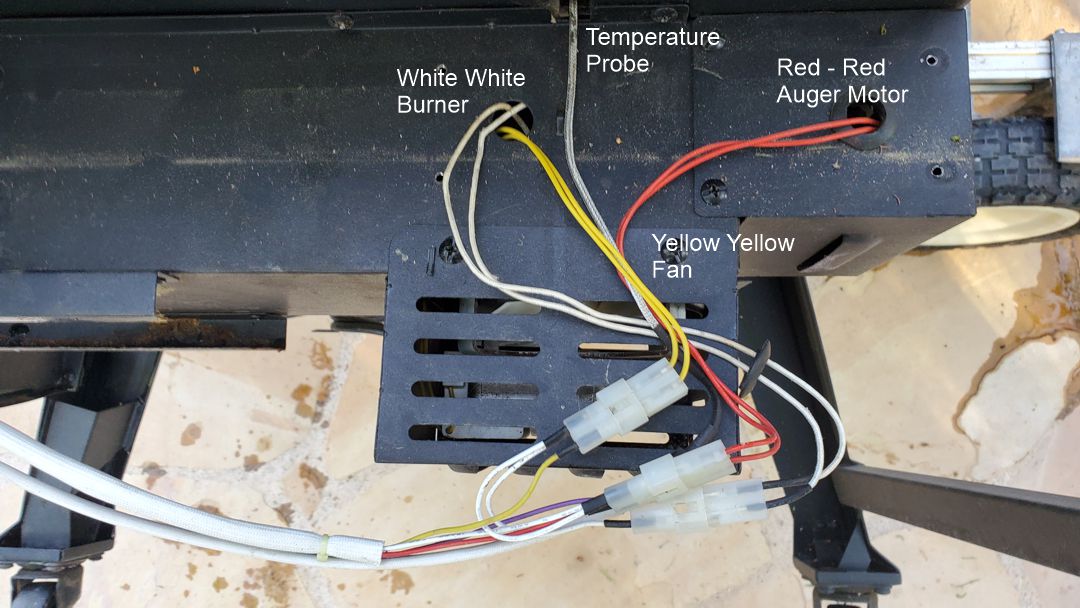
The bottom of the unit with a few shields removed.
The main harness cover uncovered.
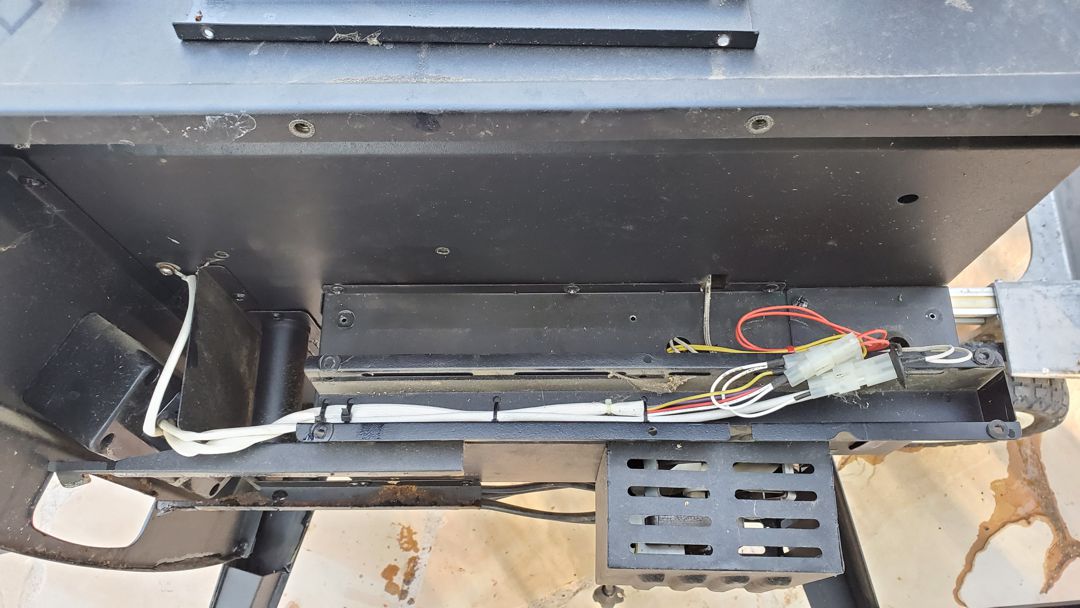
The wiring of each piece labeled.
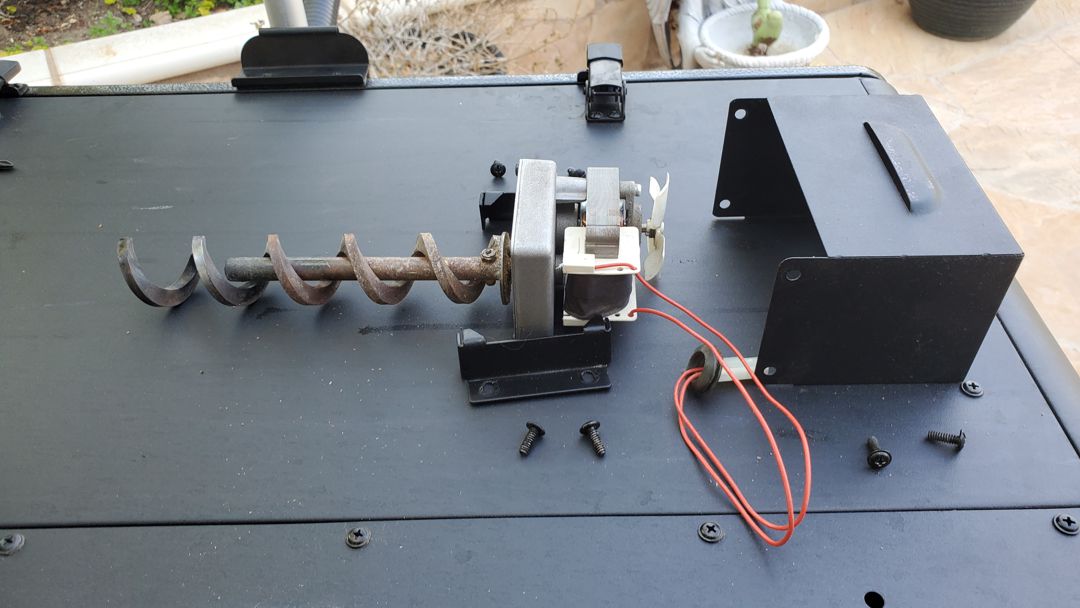
The auger was removed to clean out the dust from the pellets.
The dead controller removed from the bottom front of the smoker.
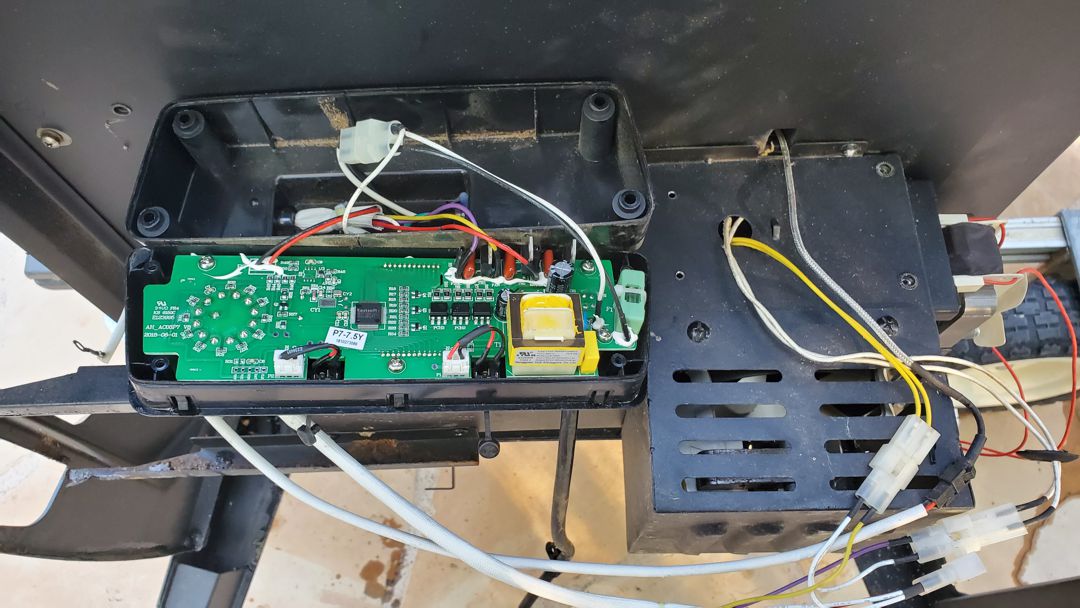
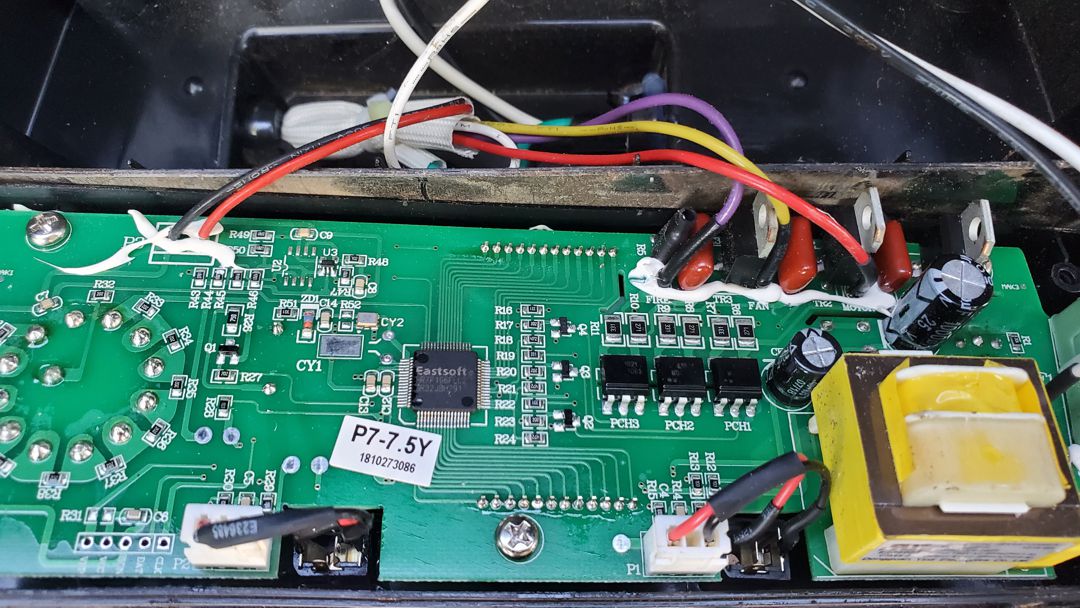
A closeup of the wireing.
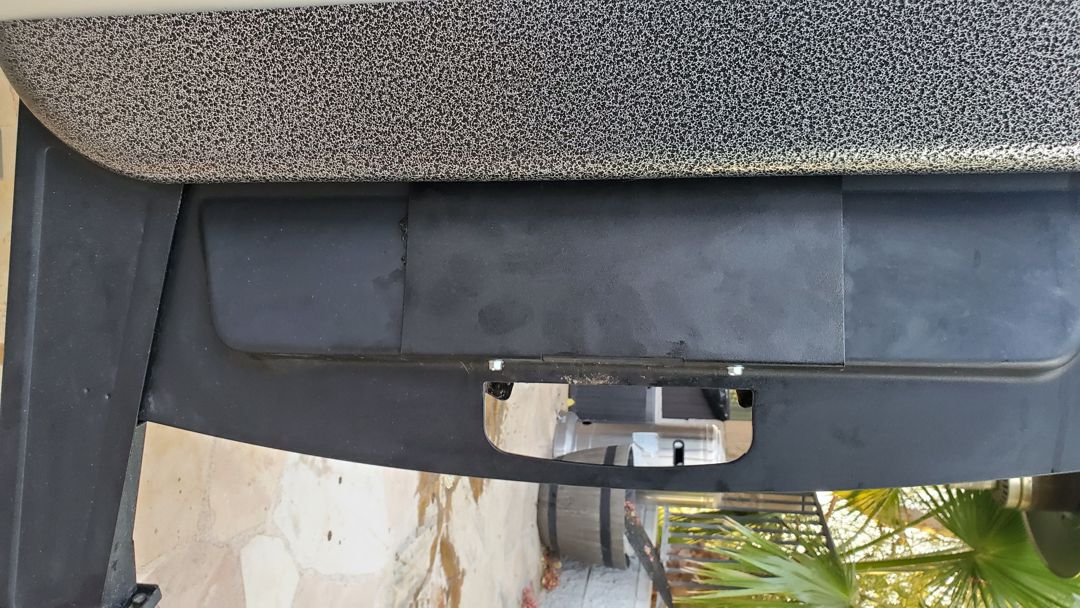
Since I no longer need the heat shield for the old controller I used it to cover the area the controller used.
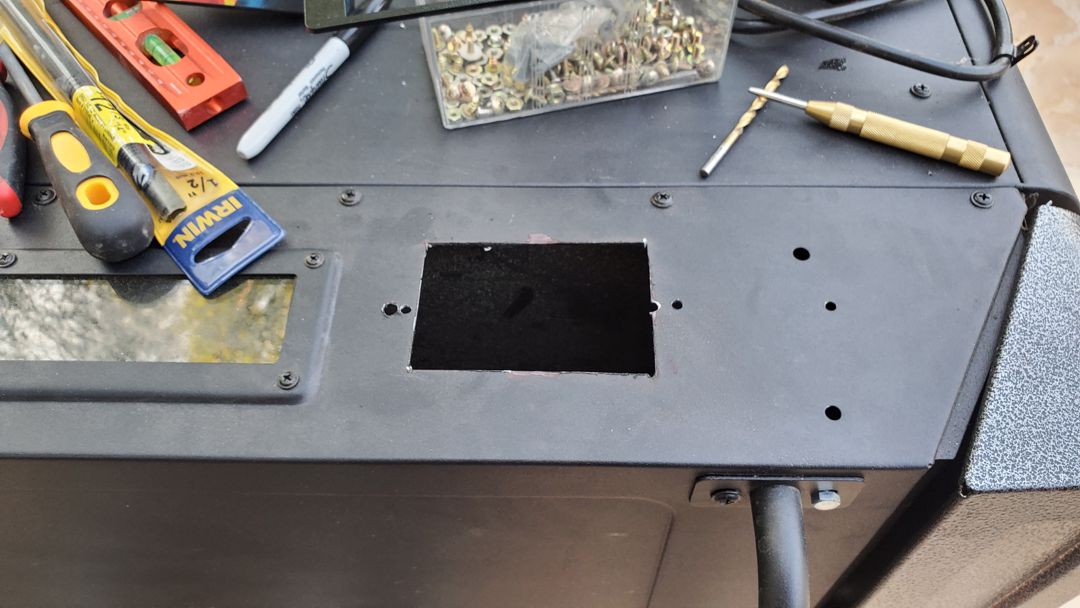
I cut a hole on the top right side of the hopper to place the new PID controller along with the screw placements.
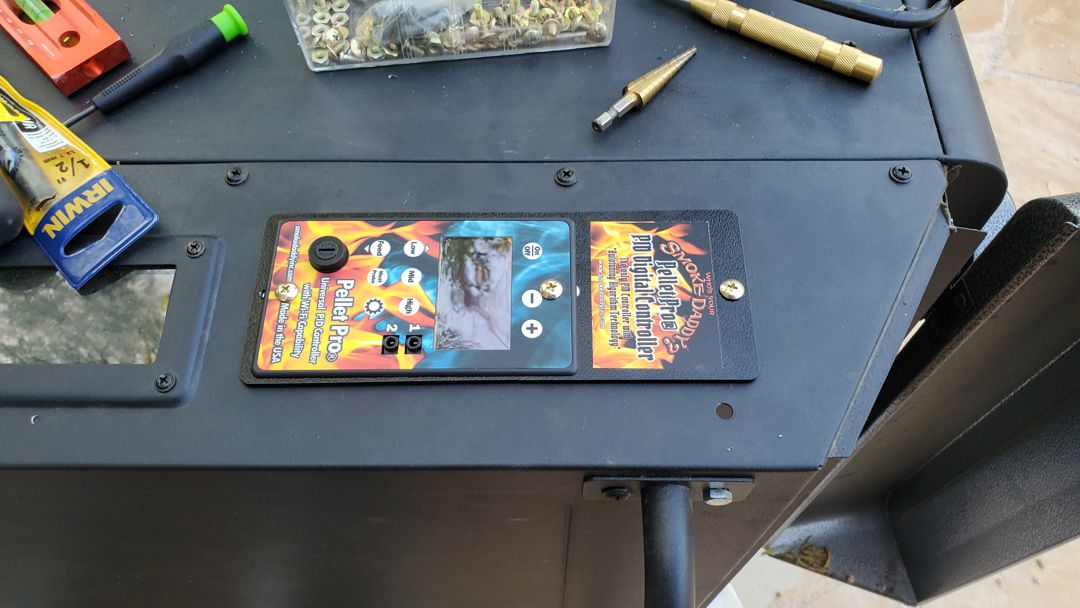
It fits well in this place and will be convient to read it.
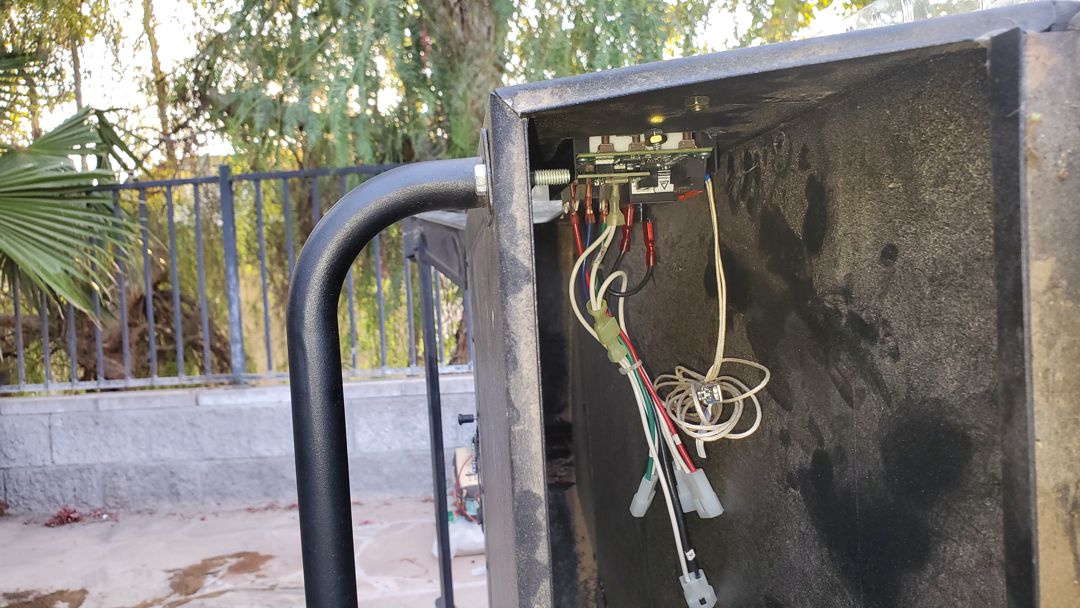
The inside view, I will need to shield it from pellet dust. I also had to extend the 5 wires about 4 feet.
Red, Green, Blue, White and Black
I ended up removing the hopper so I could drill holes for the wiring harness. It was impossible with the multiple angles at the bottom of the hopper.
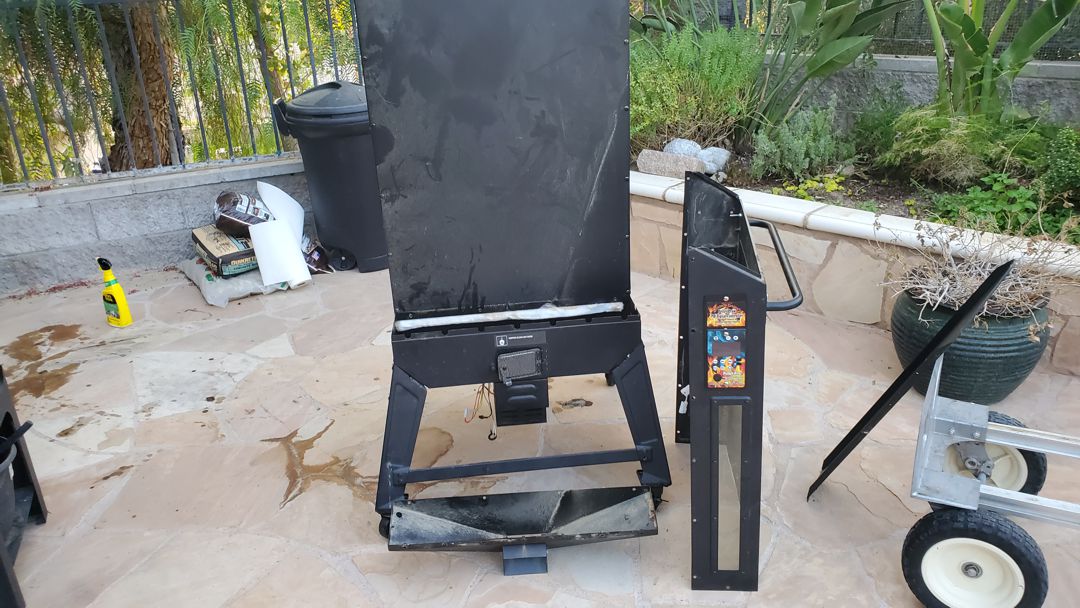
The new PID controller is now protected from the dust and the harness is siliconed in place to keep it out of the way when pellets are added to the hopper.
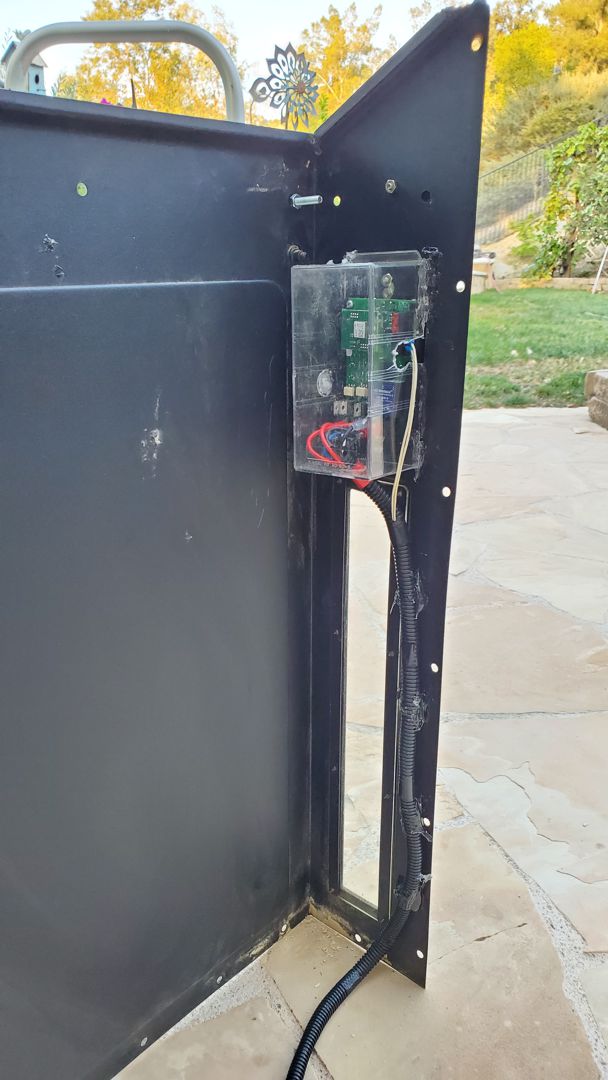
I extended the five wires and moved the harness that came with the new controller to the end of the cables.
they plugged directly into the old molex plugs. I removed the power cable from the old controller
ground the ground and it also used the old molex connector to the hrness
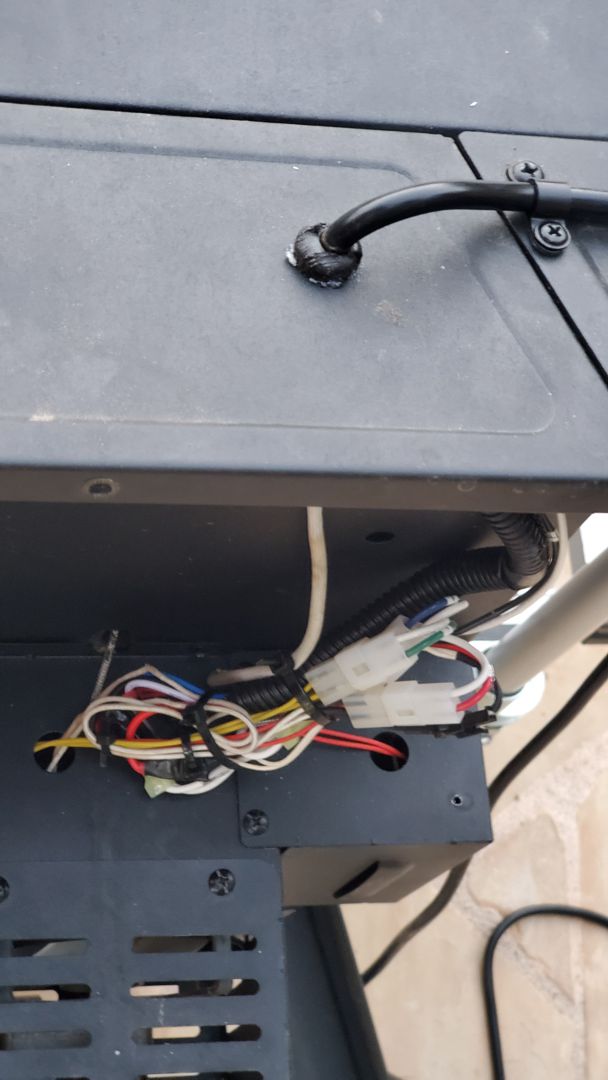
We have power! To be continued.
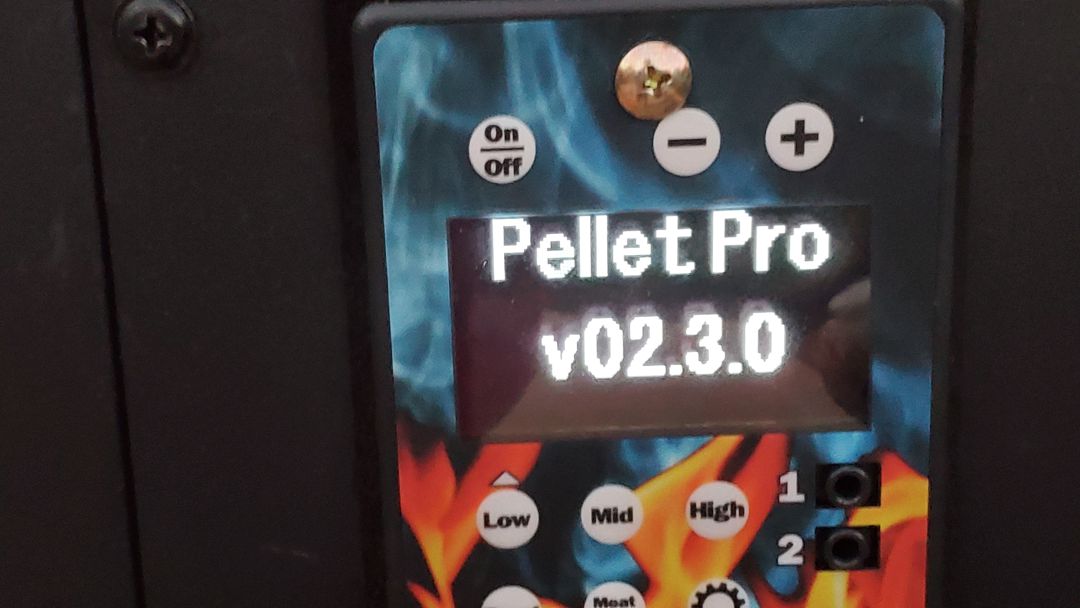
I had a couple wires crossed, I fixed that and....

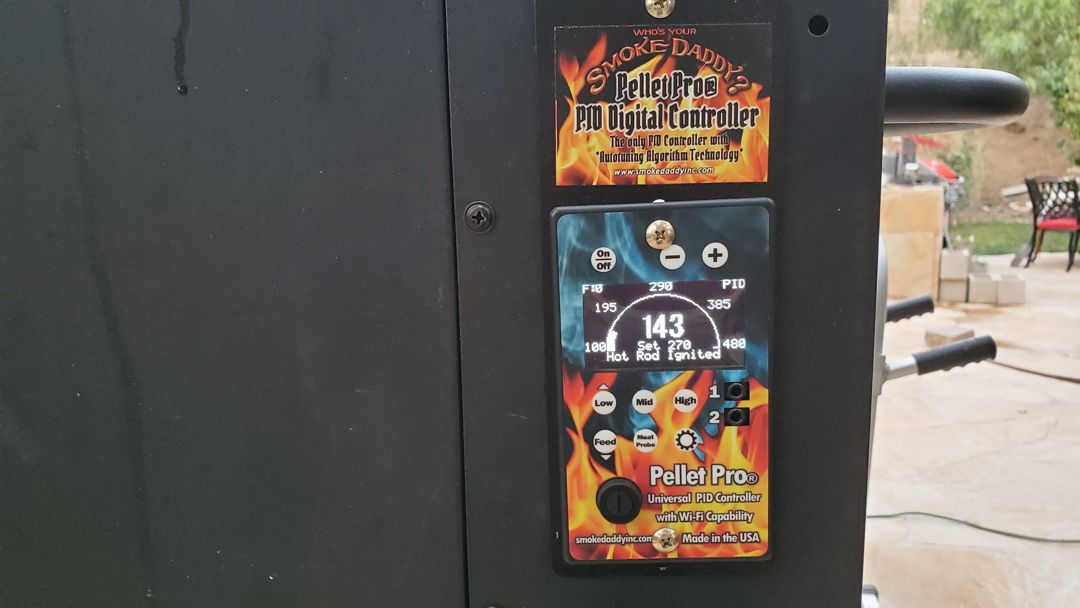
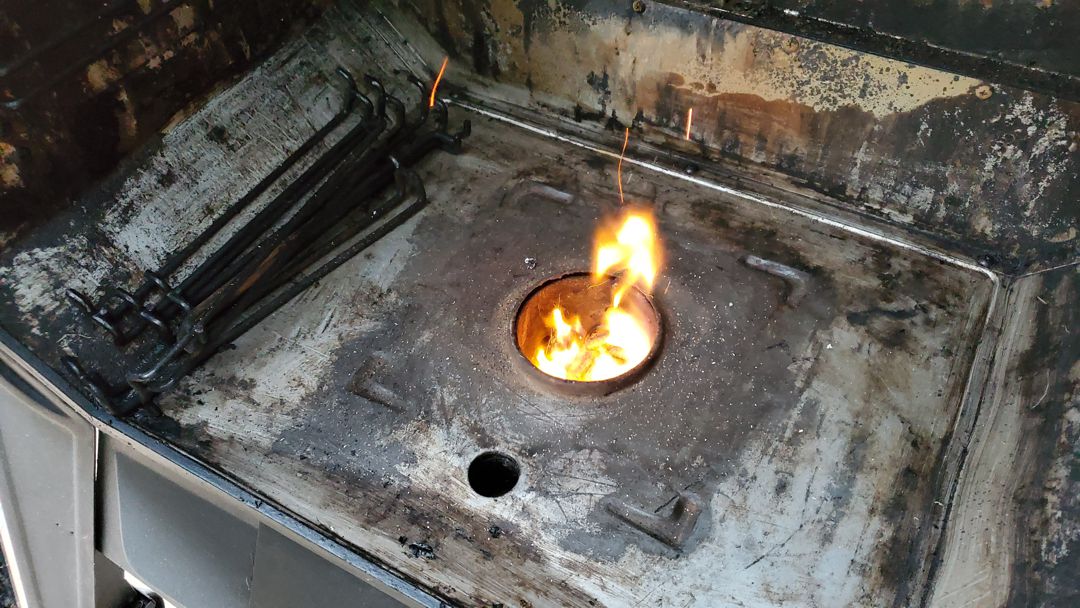
The chamber had a lot of pellets before they ignited.
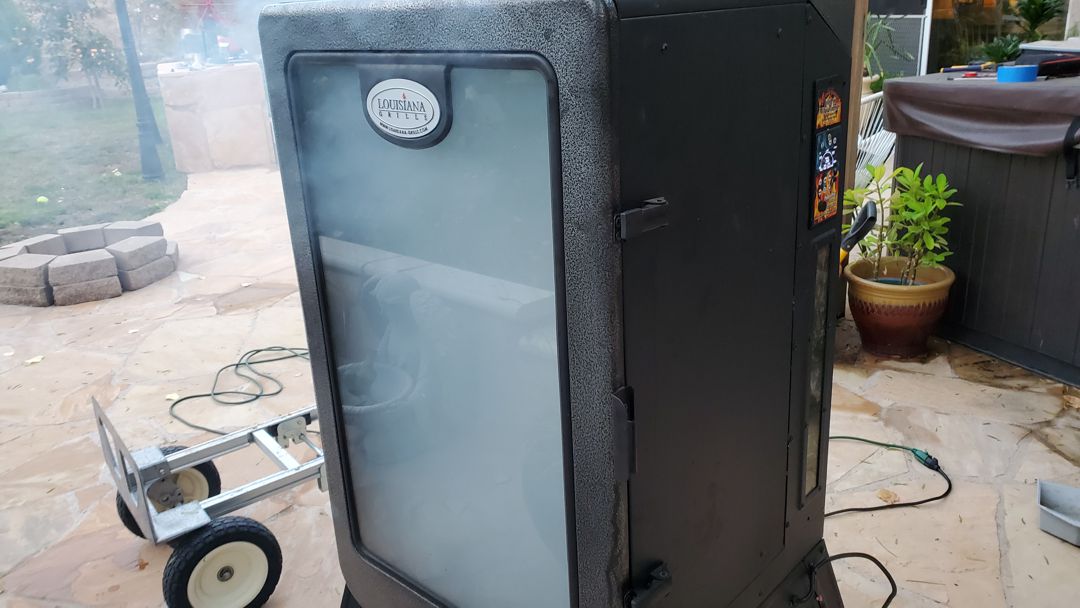
It's burning well
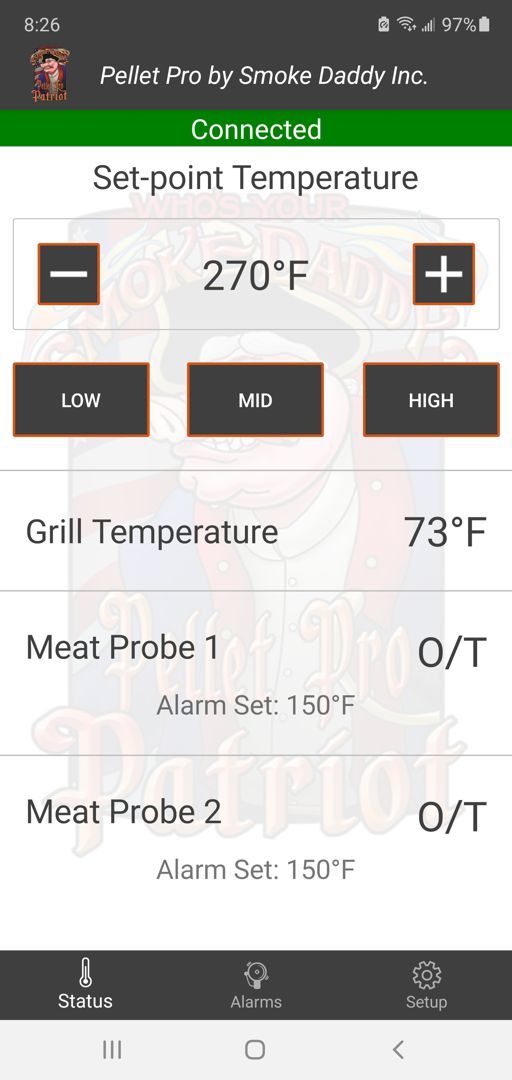
Wifi setup and working
Next will to cut a double hole (double walled construction) in the side to feed the probes in with a silicone door to seal it
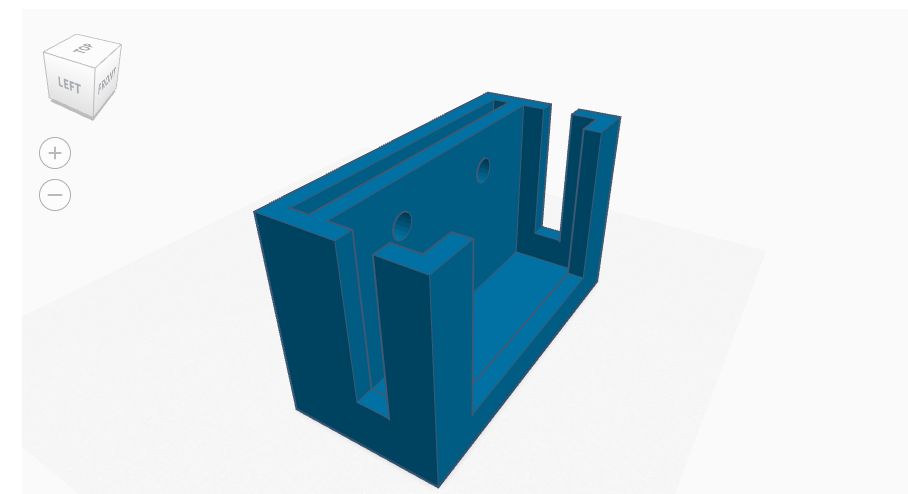
Thermometer Holder design.